Tanzania eVisa Photo Requirements: Size, Format and Examples
Tanzania Visa Guide Article Details
The portrait is one of the smallest files in a Tanzania eVisa application, but it causes a disproportionate number of preventable problems. An upload can technically succeed while the image is still unsuitable for identity review. A selfie taken from below, a cropped holiday photograph, a dark face, a patterned wall or a file compressed until the eyes are blurred may all make the application harder to assess.
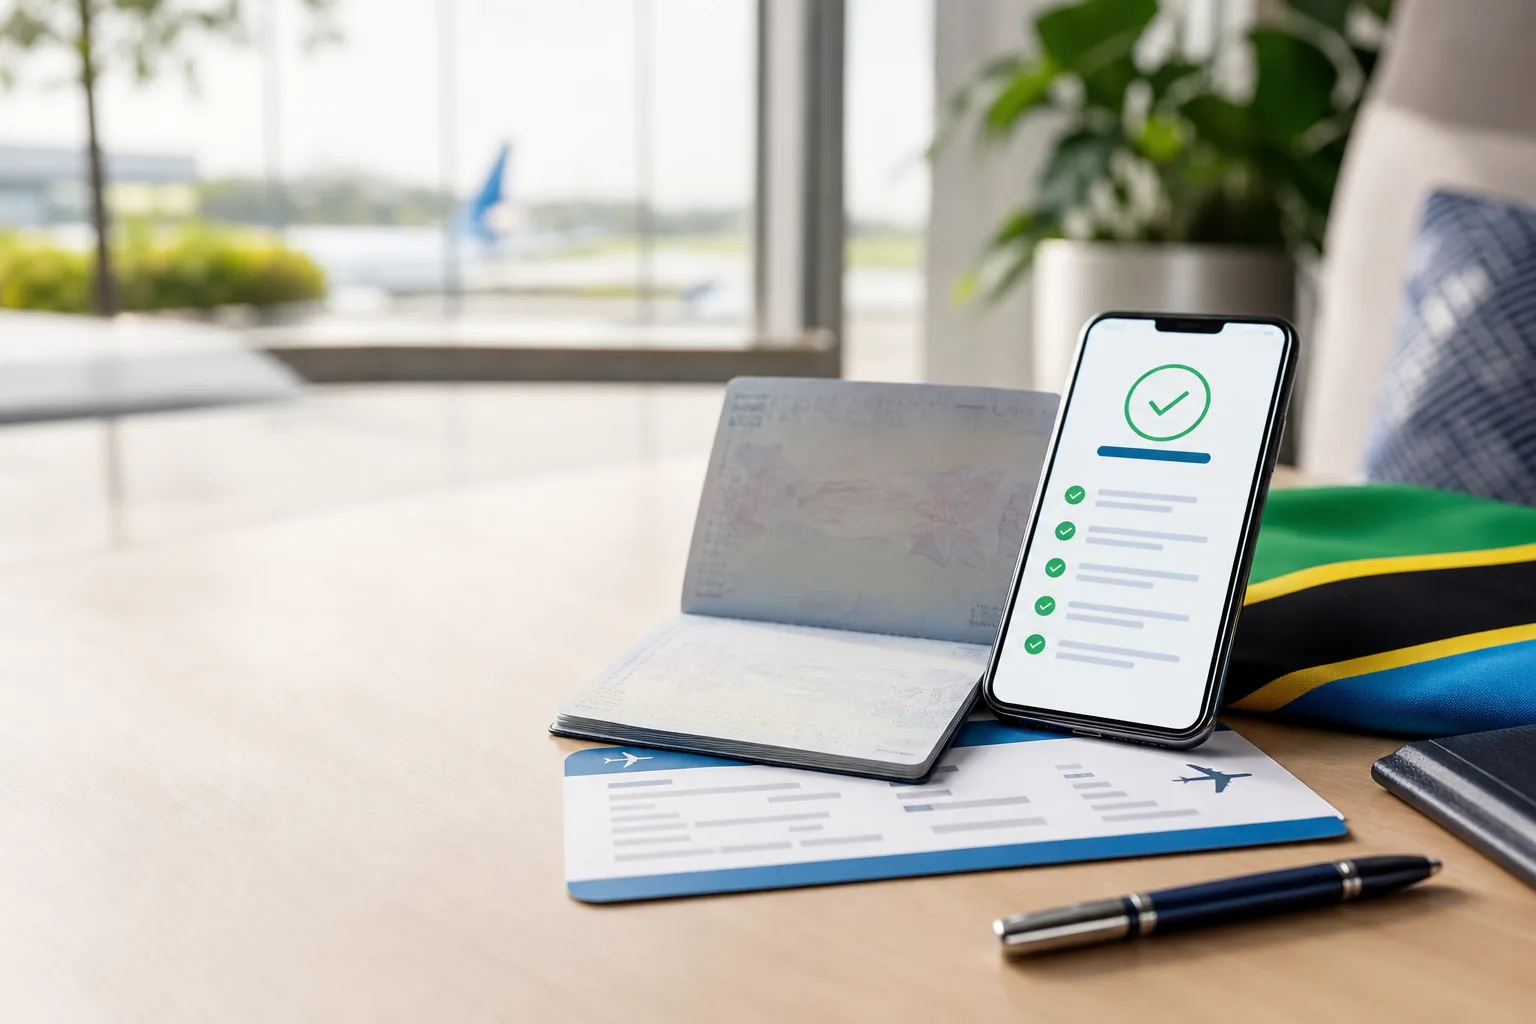
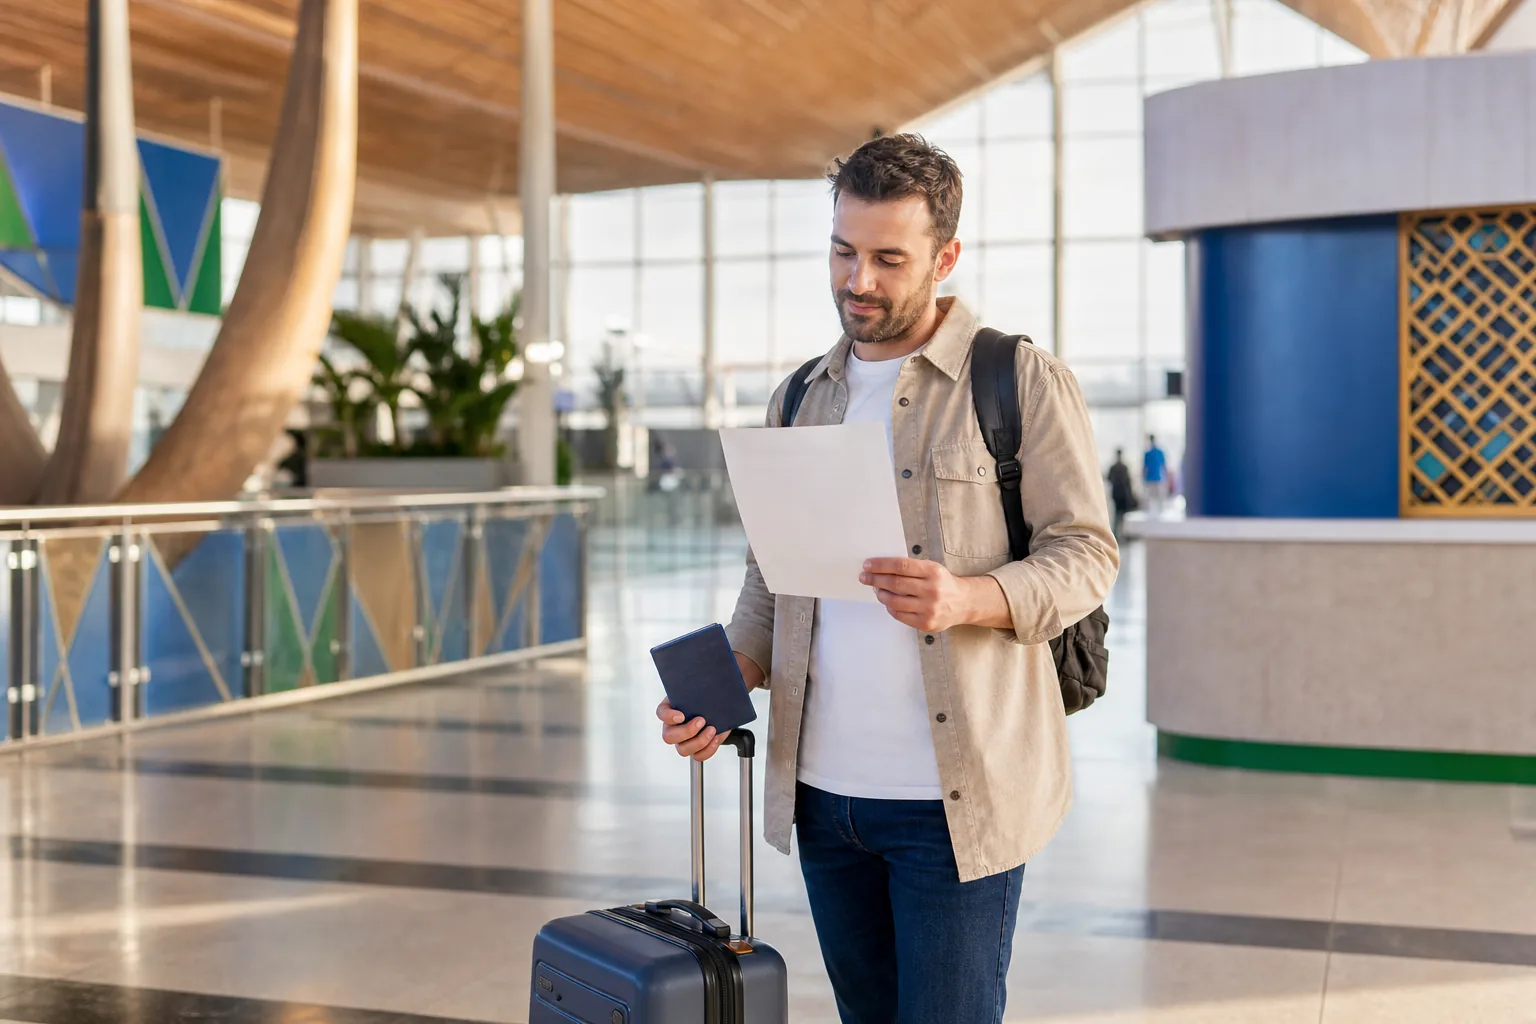
This guide is for travellers who are ready to apply and want to prepare the photograph correctly before opening the form. It explains the official specifications, shows how to take a usable image with a phone, separates the portrait from the passport scan, and provides a final quality check. evis.tz is an independent application-assistance service. Tanzania Immigration Services decides whether an application is approved and whether a traveller is admitted.
Have your passport and portrait ready?
Start the guided application when both files are available. Our workflow checks the portrait, passport page and travel evidence for clarity and consistency before submission.
Start Tanzania eVisa applicationTanzania eVisa photo requirements at a glance
| Photo element | Published requirement | Practical check |
|---|---|---|
| Colour | Colour photograph | Natural skin tone; no black-and-white scan or heavy filter |
| Background | Plain background | No furniture, doors, patterns, people or strong texture |
| Pose | Full face, front view | Face the camera directly; do not turn or tilt the head |
| Eyes | Open and visible | No hair, glare or dark lenses hiding the eyes |
| Expression | Natural expression | Keep the mouth relaxed and facial features easy to compare |
| Lighting | No distracting shadows | Use soft light from the front rather than one harsh side light |
| Dimensions | Not more than 45 mm × 35 mm | Use a portrait crop and do not stretch the face |
| File size | Not more than 500 KB | Compress carefully and inspect the final saved file |
| Format | JPG or JPEG | Check the actual file, not only the filename extension |
The specification should be treated as one complete identity standard. Meeting only the file-size limit is not enough. A 200 KB image can still fail because the face is too small, the background is busy or the photograph is copied from the passport. Likewise, an excellent studio portrait cannot be uploaded if it is saved in an unsupported format or exceeds the published upload limit.
Is the passport photograph the same as the passport scan?
No. These are two separate application files with different purposes. The passport biodata page proves the document identity: names, nationality, passport number, birth date, issue date, expiry date, portrait and machine-readable zone. The recent portrait provides a clearer current image of the applicant for comparison. Uploading the same biodata-page scan into both fields defeats that distinction.
The passport scan should show the entire biodata page in colour and remain readable from edge to edge. The portrait should show the person only, against a plain background. Give the files clear names such as passport-biodata-jane-doe.jpg and portrait-jane-doe.jpg. For a family application, include each applicant’s name in each filename so that a child’s portrait is not paired with a parent’s passport.
Every passport holder requires an individual application. A family group photograph cannot replace separate portraits. Even when children appear on one airline booking or travel with a parent, each applicant needs the correct identity files for the passport used on the trip.
How to take a Tanzania visa photo with a smartphone
A professional studio can be convenient, but a modern phone can produce a clear image when the setup is controlled. The objective is not an artistic portrait. It is a neutral, evenly lit identity image that preserves natural facial features and survives compression.
1. Choose a plain light wall
Stand in front of an untextured wall without pictures, switches, door frames or strong colour changes. Leave enough distance between the person and the wall to reduce a hard head shadow. A white, cream or very light neutral wall usually gives the camera enough contrast around the hair and shoulders.
Do not digitally replace a complex background if the editing tool changes the hairline, ears or face outline. A genuine plain wall is more reliable than an artificial cut-out with missing hair or a bright halo. If the only available wall is coloured, make sure it is even and does not blend into clothing or hair.
2. Use soft front lighting
Face a bright window or use two soft lamps placed in front of the applicant. Avoid a single ceiling light that creates dark eye sockets, and avoid direct sunlight that forces squinting. The left and right sides of the face should look reasonably even. Turn off beauty modes, portrait blur, dramatic filters and automatic skin smoothing.
Check for shadows behind the head and under the chin. A faint natural shadow is different from a dark shape that changes the face outline, but the safest result is clean, even light. If glasses are worn, move the light or camera slightly until reflections no longer cover the eyes.
3. Use the rear camera at eye level
The rear camera often produces a sharper file than the front-facing selfie camera. Ask another person to hold the phone at eye level, or use a stable tripod with a timer. Keep the camera several feet away and use the normal lens rather than an ultra-wide lens. A camera held too close can enlarge the nose and distort the proportions of the face.
Do not angle the phone from above or below. Keep it parallel to the wall. The applicant should look at the lens, not at the preview on the screen. Clean the lens before taking several photographs and choose the sharpest natural result.
4. Keep the head straight and face visible
Face the camera directly with the shoulders roughly square. The full head should be visible from the top of the hair to the bottom of the chin, with both sides of the face clear. Do not tilt the head, look sideways or cover an eye with hair. Use a relaxed natural expression and keep the eyes open.
The crop needs enough space around the head to avoid cutting hair, chin or ears. At the same time, the face should not be a tiny object surrounded by a large room. Take a wider original, then make a careful portrait crop without changing facial proportions.
5. Wear simple everyday clothing
Choose clothing that contrasts gently with the background. A white shirt against a white wall can make the shoulders disappear, while a very bright pattern can distract from the face. There is no need to wear formal business clothing for a tourist application. Avoid uniforms or costumes that may confuse the identity image.
Jewellery should not cover facial features. Large reflective accessories can create glare. Earbuds, headphones and fashion items that obscure the neck or face should be removed before the photograph is taken.
Can you wear glasses in a Tanzania eVisa photo?
Tanzania’s published guidance says an applicant who regularly wears eyeglasses may take the photograph with them. The practical requirement remains that the eyes and facial features must be visible. Clear lenses with no reflection are less problematic than lenses that display a window, ring light or phone screen across the eyes.
Take a test image and zoom in. If either pupil is hidden by glare, change the lighting or remove the glasses. Sunglasses and dark tinted lenses do not provide a clear identity image. Do not digitally paint over a reflection because that can alter the eyes and make the photograph appear manipulated.
Are head coverings allowed?
The published guidance generally does not permit head coverings except for religious reasons. When a religious covering is worn, the facial features from the bottom of the chin to the top of the forehead and both edges of the face should remain visible. The covering should not cast a heavy shadow across the eyes or cheeks.
A fashion hat, cap, hood or large headband should be removed. If the applicant routinely uses a religious covering, arrange even front lighting and check both sides of the face before saving the file. Do not crop so tightly that the covering or the top of the head is cut off.
Photo dimensions: what does 45 mm × 35 mm mean online?
The official specification describes a photograph not exceeding 45 mm in length by 35 mm in width. Millimetres describe print dimensions, while online files are also measured in pixels. A web upload normally reads the image data rather than a physical paper print, so the important practical objectives are a correctly proportioned portrait, a face large enough to assess, and a sharp file below the upload limit.
Do not stretch a landscape selfie into a vertical rectangle. Cropping should preserve the natural width and height of the face. If a studio supplies both a print sheet and a digital file, use the individual digital portrait rather than photographing the printed sheet. A photograph of a print can introduce glare, paper texture and perspective distortion.
When resizing, keep the aspect ratio locked. If a tool asks for exact pixel dimensions, start with a high-quality portrait crop and let the tool scale both dimensions together. Inspect the face afterwards; a narrow or unusually wide face often indicates that the aspect ratio was unlocked.
How to reduce the image below 500 KB safely
File-size reduction should happen after the best photograph has been chosen and cropped. Save a master copy first. Export a second JPG at a moderate quality level, then check the saved size. If it is still above 500 KB, reduce the pixel dimensions gradually or lower JPEG quality slightly. Avoid repeatedly opening and resaving the same compressed image because each generation can lose detail.
Zoom in to the eyes, eyebrows, nose, mouth and hairline. These should remain distinct without blocky squares, colour bands or smeared edges. Text does not belong in the portrait, so there is no benefit in adding a name, passport number or watermark. Metadata is not a substitute for a clear face.
Renaming a PNG file from .png to .jpg does not convert its internal format. Use an image editor’s export function and select JPG or JPEG. Then close and reopen the final file to ensure it is not corrupt.
Common Tanzania visa photo mistakes
Using a selfie angle
A phone held at arm’s length is usually too close and rarely stays at eye level. It can distort the nose, jaw and forehead. Use another person, a tripod or a stable surface with a timer.
Submitting the passport-page portrait
The tiny photograph printed inside the passport is part of the passport scan. It should not be cropped out and reused as the separate portrait. Provide a clear current image made from the original camera file.
Cropping the head or chin
Automatic square crops can remove hair, ears or the bottom of the chin. Review the full saved image, not only the circular preview shown by a phone application.
Using filters or retouching
Beauty filters can change eye shape, skin texture, jawline and facial proportions. Background-removal tools can damage hair and ears. Use only basic crop, rotation, exposure and careful file-size reduction.
Leaving shadows or glare
A harsh lamp from one side can hide part of the face. Flash can reflect from glasses and shiny skin. Move towards soft daylight and take several test images before completing the final crop.
Uploading the wrong family member’s image
Similar filenames such as IMG_1021.jpg and IMG_1022.jpg are easy to confuse. Rename files with the applicant’s passport name and open every file during the final review.
Compressing until the face is blurred
A file below 500 KB is not automatically suitable. If compression destroys facial detail, return to the master image and resize more carefully instead of compressing the damaged copy again.
Photo check for babies and children
A child’s photograph should still show the face from the front against a plain background. No parent, hand, toy or car seat should appear. For a baby, place a plain light sheet on a safe flat surface and photograph from directly above, or use a professional studio experienced with infant identity photographs. Safety comes first; do not place a baby on an unsafe raised surface.
Try to keep the eyes open, but do not use harsh flash to force attention. Take multiple images in soft daylight. The child’s current appearance should be clear, and the file should be labelled separately from every other family member’s documents.
A child’s application also needs its own passport and travel evidence. Photo compliance does not replace airline consent, custody or birth documentation that may apply to the journey. Check those requirements with the carrier and relevant transit authorities.
Match the photo to the passport identity
The application should use the passport that will be carried to Tanzania. If the passport is renewed after the visa application, the document number and portrait reference may no longer match the travel document. It is generally cleaner to complete an imminent renewal first and then apply with the new passport.
Recent major appearance changes deserve extra attention. A natural current portrait is helpful after significant changes in hair, facial hair or medical appearance. Do not alter the photograph to imitate the older passport image. The purpose is to show the applicant accurately at the time of application.
Names are not printed inside the portrait, but file pairing still matters. Before submission, compare the portrait with the passport page and confirm that both belong to the same applicant. Then compare the passport name and number with the application fields.
When should you retake the photograph?
Retake it when the face is not sharp at normal viewing size, an eye is hidden, the head is tilted, the background contains objects, the colour is heavily filtered, the file is copied from the passport, the final crop removes part of the head, or compression produces visible blocks. A five-minute retake is usually easier than responding to a document correction after submission.
Do not submit a borderline file merely because an upload control accepts it. Technical acceptance only confirms that the website received a file. It does not confirm that the image meets identity-review expectations or that the visa will be approved.
What evis.tz checks before assisted submission
Our assisted workflow checks whether the file opens, uses a suitable image format, appears to remain within the upload limit, and shows a front-facing identifiable applicant against a plain background. It also checks for obvious crop, blur, shadow and glare problems and compares the portrait assignment with the passport file supplied for the same applicant.
This review reduces avoidable preparation errors; it does not replace immigration assessment or guarantee approval. The Ordinary Visa assisted total is $99, consisting of the $50 government visa fee and a $49 assistance fee. United States passport holders travelling for tourism normally use the Multiple Entry Visa route with a $189 assisted total. Business and Transit routes have different totals and evidence requirements.
The complete price breakdown is shown before payment. If the travel purpose indicates work, study, volunteering or another route that does not fit a visitor eVisa, the application should be reviewed before a payment is made.
Let us check the portrait with the rest of the file
Upload the portrait, passport page and travel evidence through the guided form. You can review the entered information before choosing a payment method.
Continue to the applicationFinal photo checklist before upload
- The image is a separate portrait, not a crop from the passport page.
- It is in colour and saved as JPG or JPEG.
- The final file is no larger than 500 KB.
- The background is plain and free from visible objects.
- The applicant faces the camera directly.
- The full head and both edges of the face are visible.
- The eyes are open and not hidden by hair or glare.
- The expression is natural and the image has no beauty filter.
- There are no distracting shadows on the face or background.
- The applicant’s filename clearly matches the correct passport.
- The compressed final file has been reopened and checked for blur.
- A master copy has been kept in case a cleaner export is needed.
Frequently asked questions
Can I use a phone to take the Tanzania eVisa photo?
Yes, when the phone produces a sharp, front-facing colour image against a plain background. Use the rear camera at eye level, soft front lighting and a timer or another photographer rather than a close selfie angle.
Can I upload a PNG or HEIC image?
The published Tanzania online guidance specifies JPG or JPEG. Export the final portrait to that format instead of merely renaming the file extension.
Can I smile?
The guidance calls for a natural expression. A relaxed neutral expression is the safest choice because it keeps facial proportions easy to compare.
Does the photograph have to be exactly 35 × 45 mm?
The published specification states that it should not exceed 45 mm by 35 mm. For the online upload, preserve a proper portrait crop, natural proportions, clear facial detail and the 500 KB maximum.
Can I wear my normal glasses?
The official guidance permits regularly worn eyeglasses, but the eyes should remain visible. Retake the photograph if reflections cover either eye.
Can I use the photo printed in my passport?
No. Upload the full passport biodata page in its passport field and provide a separate current portrait in the photograph field.
Will a compliant photo guarantee visa approval?
No. The photograph is only one part of the application. Visa category, passport validity, travel purpose, ticket, supporting documents and all entered information are assessed together, and immigration retains the decision.
Continue preparing the Tanzania eVisa file
After the portrait is ready, check the passport biodata page, return or onward ticket, first accommodation or tour-operator reference, and travel dates. The complete Tanzania eVisa document checklist covers the entire file. The cost and processing guide explains government fees, assisted totals and timing, while the Zanzibar visa guide covers first-destination and island entry preparation.
This article was checked against Tanzania Immigration’s published visa guidelines, entry requirements and visa fee information. Rules can change, and the conditions on an issued visa control the trip. evis.tz provides independent application assistance and does not issue visas.
Sources and review method
Material visa and entry statements are reviewed against primary sources. Last source review: . Read our editorial policy.